Back to School
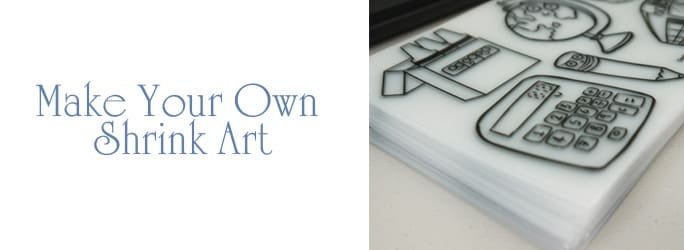
Make Your Own Shrink Art
As a kid, I was fascinated by Shrinky Dinks. They were fun to color and more fun to watch in the oven. I loved you could take a piece of material and make it miniature!
For our September "Happy Fall & Back to School" craft package, I wanted to bring my own version of shrink art into our monthly craft package.
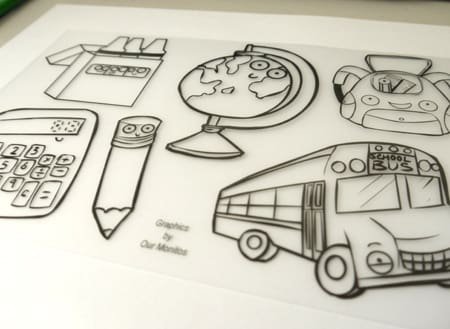
Using some clear inkjet printable shrink film, I printed this fun back to school artwork by Our Monitos using an inkjet printer. I absolutely love this artwork because these images have faces – my kids love any objects with faces (especially Thomas the Train!). I want to thank Our Monitos again for letting us use their back-to-school artwork.
Printing on the inkjet printable shrink film took a lot of trial and error, because my printer didn't recognize the shrink film at first. I realized that because the paper was "clear" – it's really a milky white, I had to put a strip of repositionable labels at the bottom of the paper to let the printer know that there was really paper in there. I have also read that this paper won't work with some printers, but luckily it worked with mine!
Once printed, this is what the shrink art looked like. The ink goes on very smoothly and only needs a few seconds to dry.
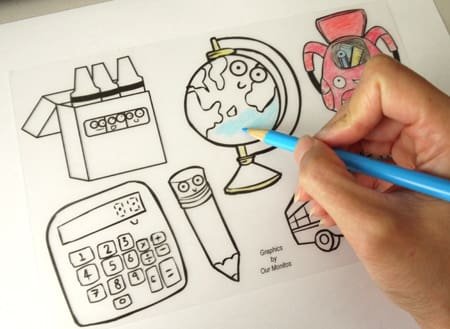
While printable inkjet shrink film manufacturer states that it's best to use permanent markers or paint, but most artwork has enough detail that would require colored pencils. Colored pencils go on fairly smooth, but you may get a few spots where the color may not hold, which is okay because you won't see those spots when it shrinks!
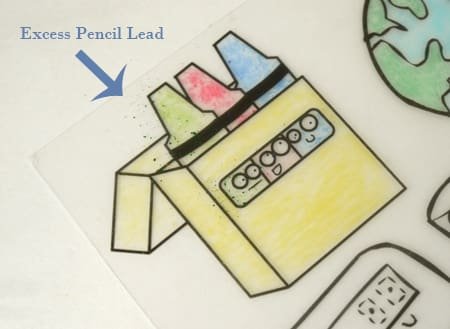
With colored pencils, you'll get some excess pencil lead. Make sure you dust it off or these speckles will be there once you shrink the images.
Here's the finished colored sheet.
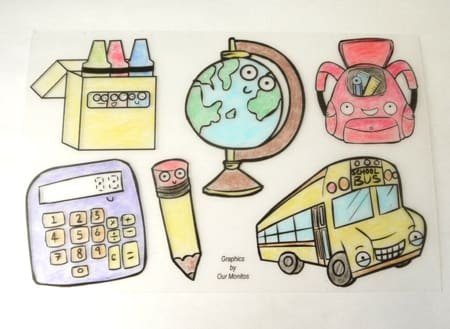
Cut your shrink art shapes out, trying to keep the lines as smooth as possible, so that when your art shrinks, it won't have sharp edges.
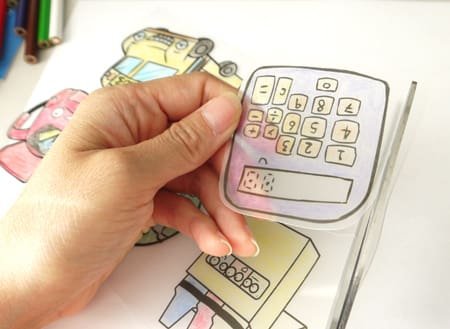
Here are all of the colored and cut piece. Who could resist these smiling faces?! 🙂
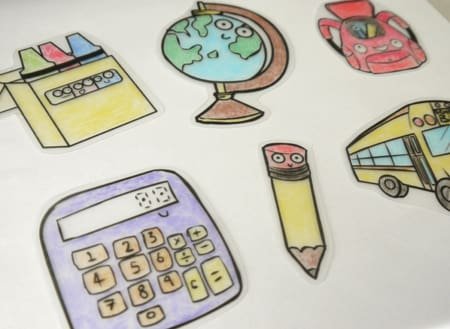
Lay a piece of parchment paper on your baking sheet. Lay your shrink art pieces on top, making sure they don't touch.
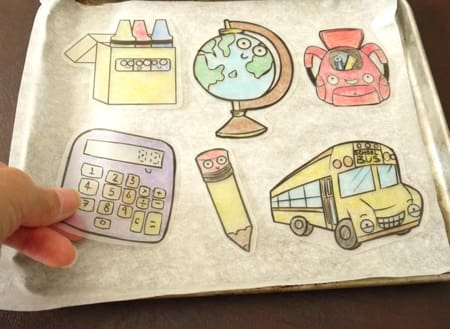
Set your toster oven or oven to 350 degrees F, then pop them in for 1-3 minutes. You'll start to see them curl and twist (my kids LOVED this part!). Some may even flip over, but that's okay because they will eventually flatten out.
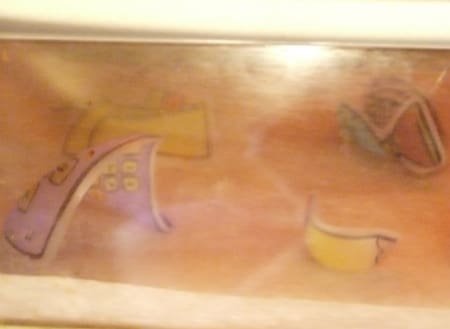
You'll know their done when they are mostly flat. When you take them out of the oven, the shrink art will still be extremely pliable. If some pieces are still a little curled, you can flatten them with a spatula. Don't let the kids touch the shrink art until it's cool. It will take a couple minutes for them to cool completely.
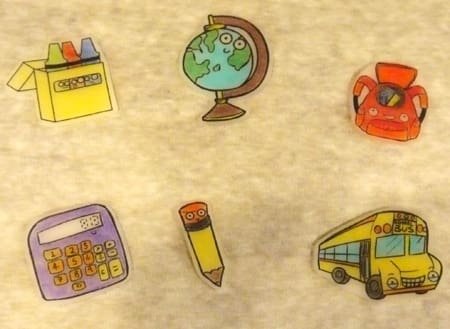
These shrink to around 20-30% of their original size. This is what they look like up-close. Super cute!
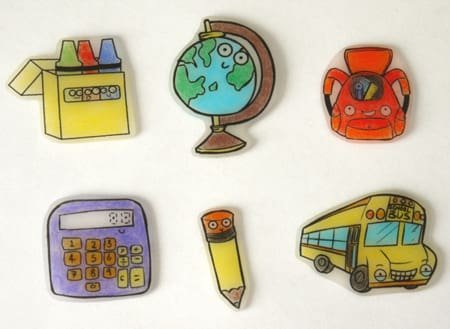
My kids loved playing with these mini school shapes, and they even got a little science experiment out of this craft! Our shrink art craft kit included the printed shrink art sheet, parchment paper, and Crayola colored pencils. All you would need is the oven and a pair of scissors!
I have seen other shrinky dink craft kits in Michael's, and while they are fun, they take a lot of extra time because you have to trace your own outline, and then color the insides of the outlined picture. Making your own shrink art allows you to use your own clip art, and the outlined printed images are crisp and clear!
Please post a comment below if you have any questions about making your own shrink art.
If you want to stay posted on our giveaways, craft ideas, and special offers, subscribe to our email newsletter here.
Disclosure: This post contains referral links. Please note that I only promote products that I highly recommend!

