Easter Projects
Easter Paper Craft
This Easter egg "snowflake" paper craft is great for younger kids who are working on their paper cutting and shape recognition skills. My 5-year old daughter loved making these – and I loved hearing her "ooh" and "ahh" over the shapes we were creating in the paper! She's learning about rhombuses, hexagons, pentagons, and other geometrical shapes now in kindergarten. I love crafts that have an educational component!

We hung these Easter "snowflake" eggs as decorations on our windows. They look great when the sun is coming through. All you need is some colored paper – we used thin scrapbooking paper (the thinner the better) to make these Easter "snowflake" eggs.
Here are the instructions for this fun and easy craft:
Step 1 – The first thing you need to do is trace an egg shape on paper. We used a 12×12 piece of scrapbooking paper. My daughter cut out the egg shape. She folded the egg in half, and then half again to quarter. We cut a design in the corner to make the center design in the egg.
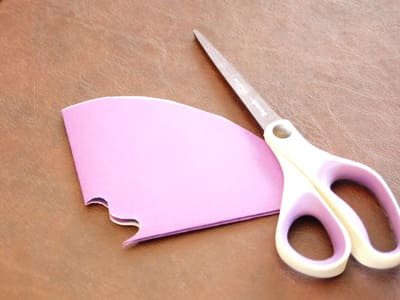
Step 2 – At this point, you could fold the paper in half again, and cut more shapes out, but if you want a more intricate design, it's easier to leave the paper as is and cut through the folded parts of the paper. Be careful not to cut on the outer edges of the egg if you want to keep a seamless edge.
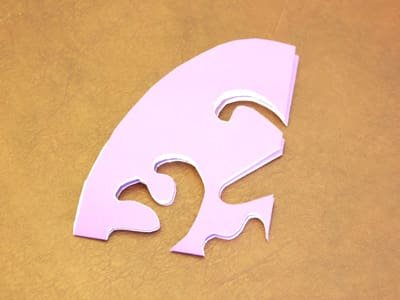
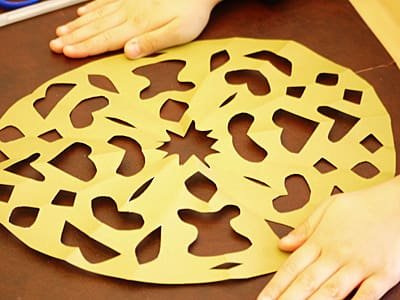
Step 3 – When you've cut enough shapes on the fold, fold the paper again (only once) and cut more shapes. You will need to repeat this until you have "filled" your egg with cut-out shapes. You can see the fold lines in the paper below.
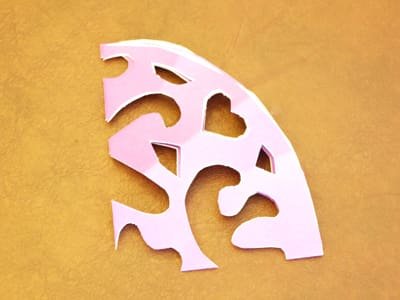
Step 4 – Unfolding the egg was the to reveal the shapes, was the best part for my daughter! This is where she discovered and named the many shapes we created!
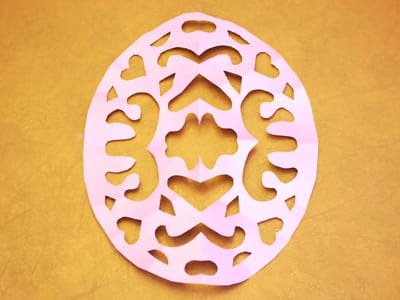
Here is the completed green egg! This is a fun craft that only requires paper, scissors, and an imagination! Please make sure you are using kid-safe scissors and are supervising your child at all times!
Happy Crafting!
Carolyn

